KVM之本地安装虚拟机--03

在kvm宿主机上格式化新添加的硬盘

1
2
3
4
5
6
7
8
9
10
11
12
13
14
15
16
17
18
19
20
21
22
23
24
25
26
[root@kvm ~]# fdisk /dev/sda
Welcome to fdisk (util-linux 2.23.2).
Changes will remain in memory only, until you decide to write them.
Be careful before using the write command.
Device does not contain a recognized partition table
Building a new DOS disklabel with disk identifier 0x0c2c0d45.
Command (m for help): n # 新建分区
Partition type:
p primary (0 primary, 0 extended, 4 free) # 主分区
e extended
Select (default p): p
Partition number (1-4, default 1): 1 # 分区1
First sector (2048-419430399, default 2048):
Using default value 2048 # 分配所有空间
Last sector, +sectors or +size{K,M,G} (2048-419430399, default 419430399):
Using default value 419430399
Partition 1 of type Linux and of size 200 GiB is set
Command (m for help): w # 保存配置
The partition table has been altered!
Calling ioctl() to re-read partition table.
Syncing disks.

格式化分区

1
2
3
4
5
6
7
8
9
10
11
12
13
14
15
16
17
18
19
20
21
22
23
[root@kvm ~]# mkfs -t ext4 /dev/sda1 # 格式化分区
mke2fs 1.42.9 (28-Dec-2013)
Filesystem label=
OS type: Linux
Block size=4096 (log=2)
Fragment size=4096 (log=2)
Stride=0 blocks, Stripe width=0 blocks
13107200 inodes, 52428544 blocks
2621427 blocks (5.00%) reserved for the super user
First data block=0
Maximum filesystem blocks=2199912448
1600 block groups
32768 blocks per group, 32768 fragments per group
8192 inodes per group
Superblock backups stored on blocks:
32768, 98304, 163840, 229376, 294912, 819200, 884736, 1605632, 2654208,
4096000, 7962624, 11239424, 20480000, 23887872
Allocating group tables: done
Writing inode tables: done
Creating journal (32768 blocks): done
Writing superblocks and filesystem accounting information:
done

挂载磁盘,并加入重启自动挂载

1
2
[root@kvm ~]# mkdir /kvm;mount /dev/sda1 /kvm
[root@kvm ~]# echo "/dev/sda1 /kvm ext4 defaults 0 0" >> /etc/fstab

将ISO文件上传到/opt/iso下

1
2
3
[root@kvm ~]# cd /opt/iso/
[root@kvm iso]# ls
CentOS-6.10-x86_64-bin-DVD1.iso

安装虚拟机1

创建虚拟机存放目录,该目录分区必须足够大

1
[root@kvm ~]# mkdir /kvm/image

配置安装参数,执行安装命令

1
2
3
4
5
6
7
8
9
10
11
12
[root@kvm ~]# virt-install --name vm1 --disk path=/kvm/image/vm1.img,size=18 --ram 1024 --vcpus 1 --cdrom /opt/iso/CentOS-6.10-x86_64-bin-DVD1.iso --os-type linux --os-variant rhel6 --network bridge=br0 --vnc --vnclisten=0.0.0.0 --vncport=5901
# 【参数说明】:
--name 指定虚拟机的名字
--ram 指定内存分配多少
--disk path 指定虚拟磁盘放到哪里,size=18 指定磁盘大小为18G,这样磁盘文件格式为raw,raw格式不能做快照,后面有说明,需要转换为qcow2格式,如果要使用qcow2格式的虚拟磁盘,需要事先创建qcow2格式的虚拟磁盘。 参考 http://www.361way.com/kvm-qcow2-preallocation-metadata/3354.html 示例:qemu-img create -f qcow2 -o preallocation=metadata /data/test02.img 7G; --disk path=/data/test02.img,format=qcow2,size=7,bus=virtio
--ram 指定内存大小 单位M
--vcpus 指定分配cpu几个
--cdrom 指定本地iso文件路径
--os-type 指定系统类型为linux
--os-variant 指定系统版本
--network 指定网络类型

执行完上面的操作会看到如下截图

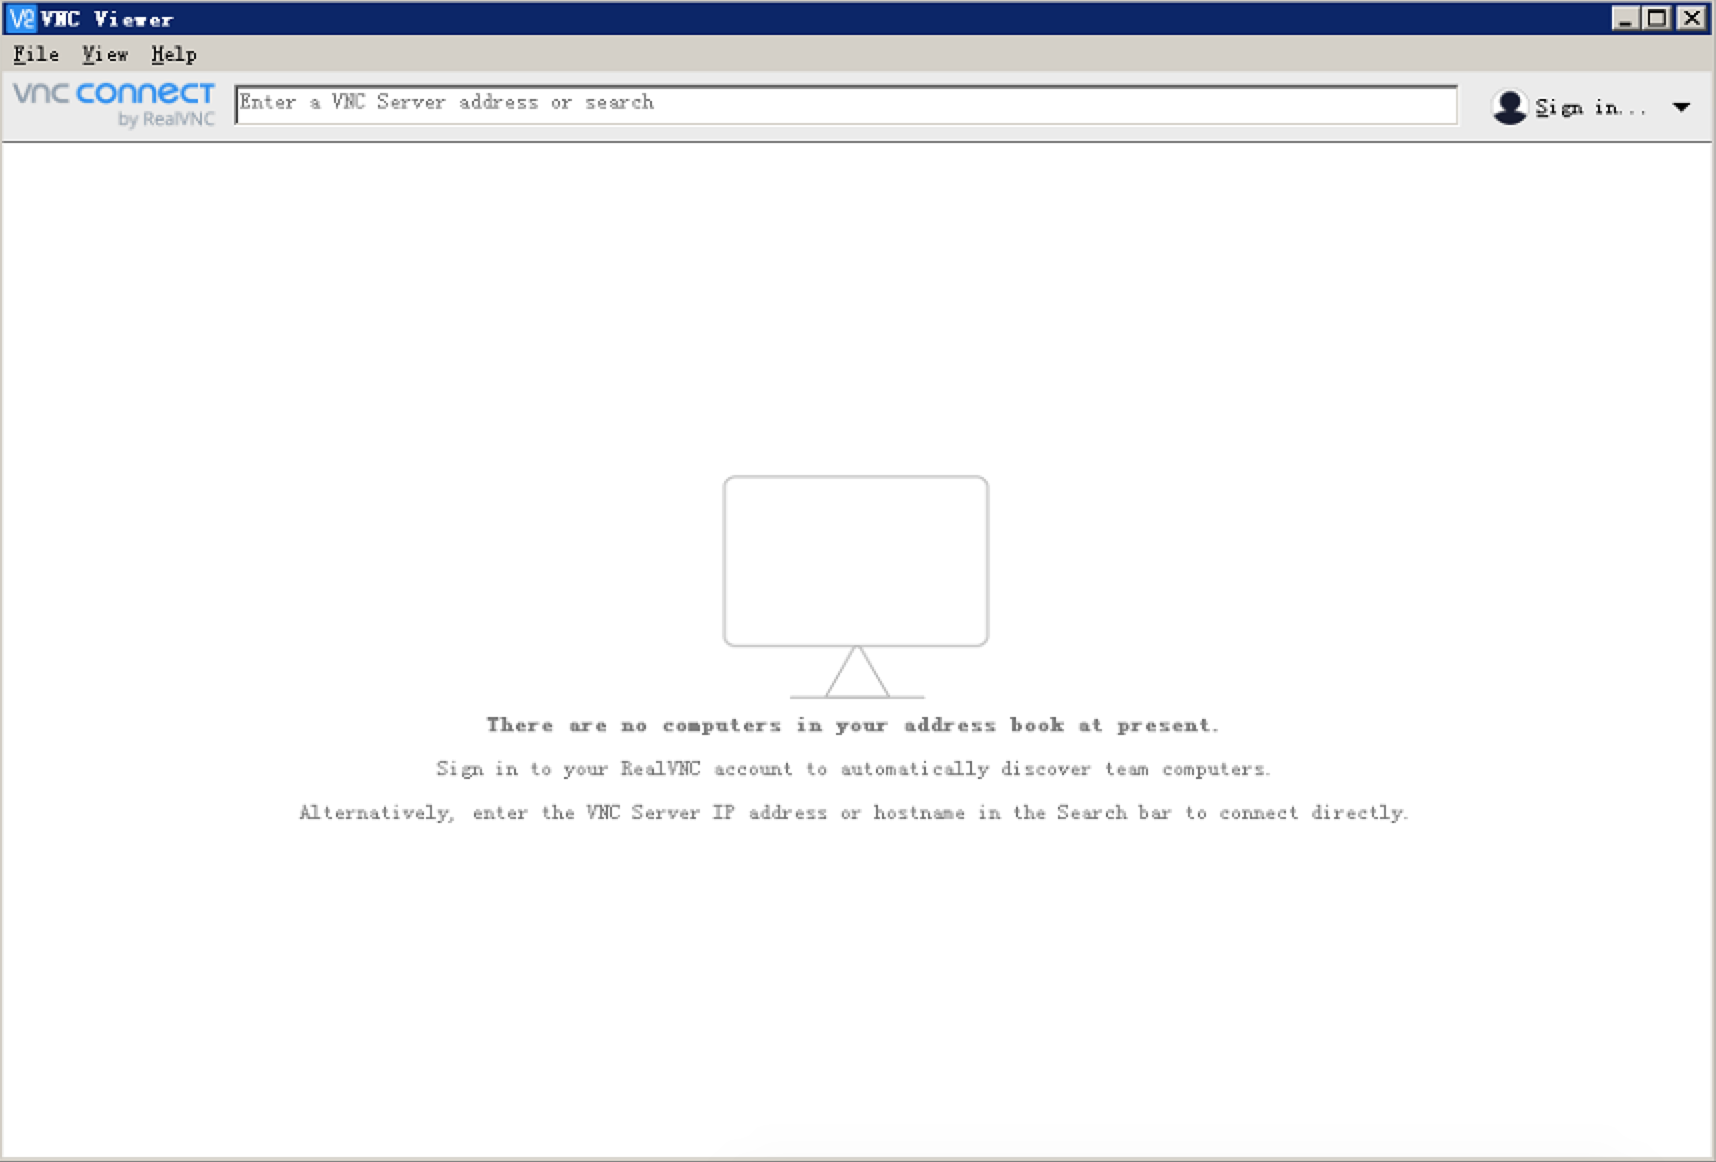
        因为我们的KVM没有安装图形化桌面,所以连接虚拟机需要用到VNC Viewer,下面假设已经安装VNC Viewer,连接方式如下所示
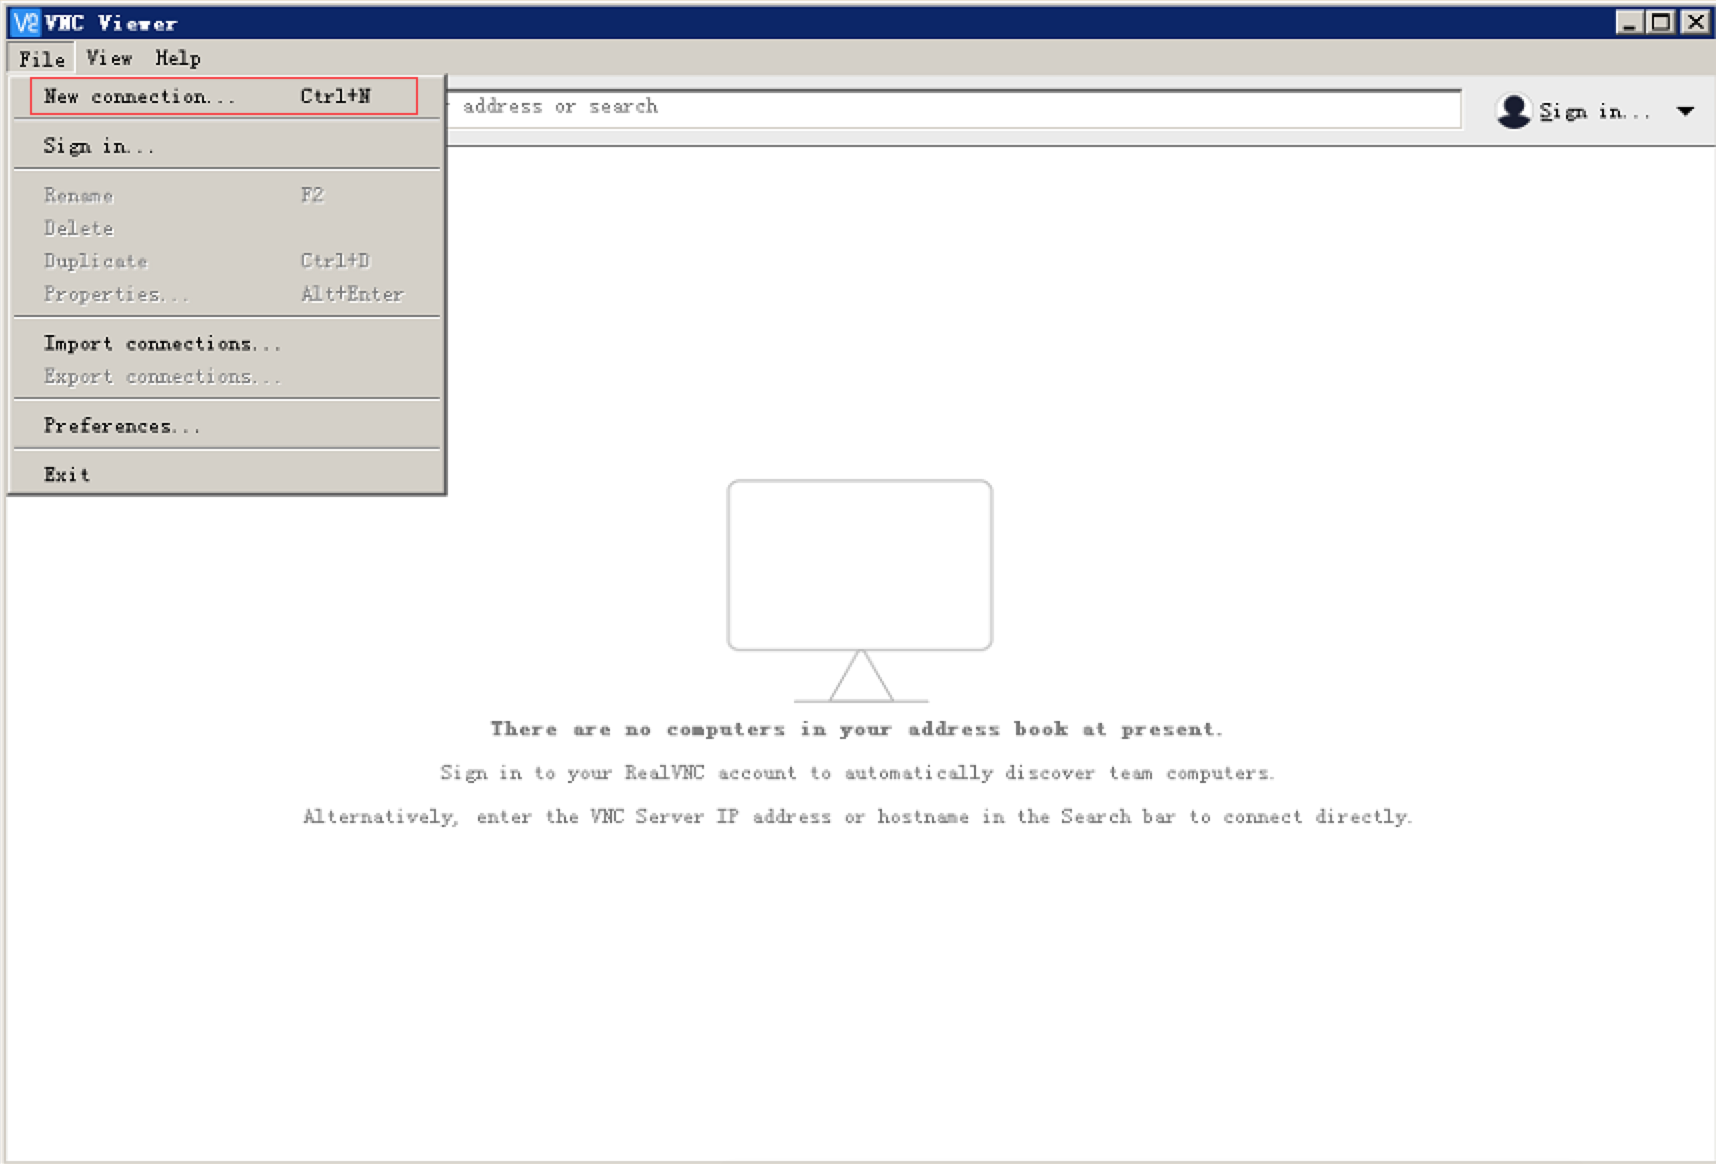
新建连接

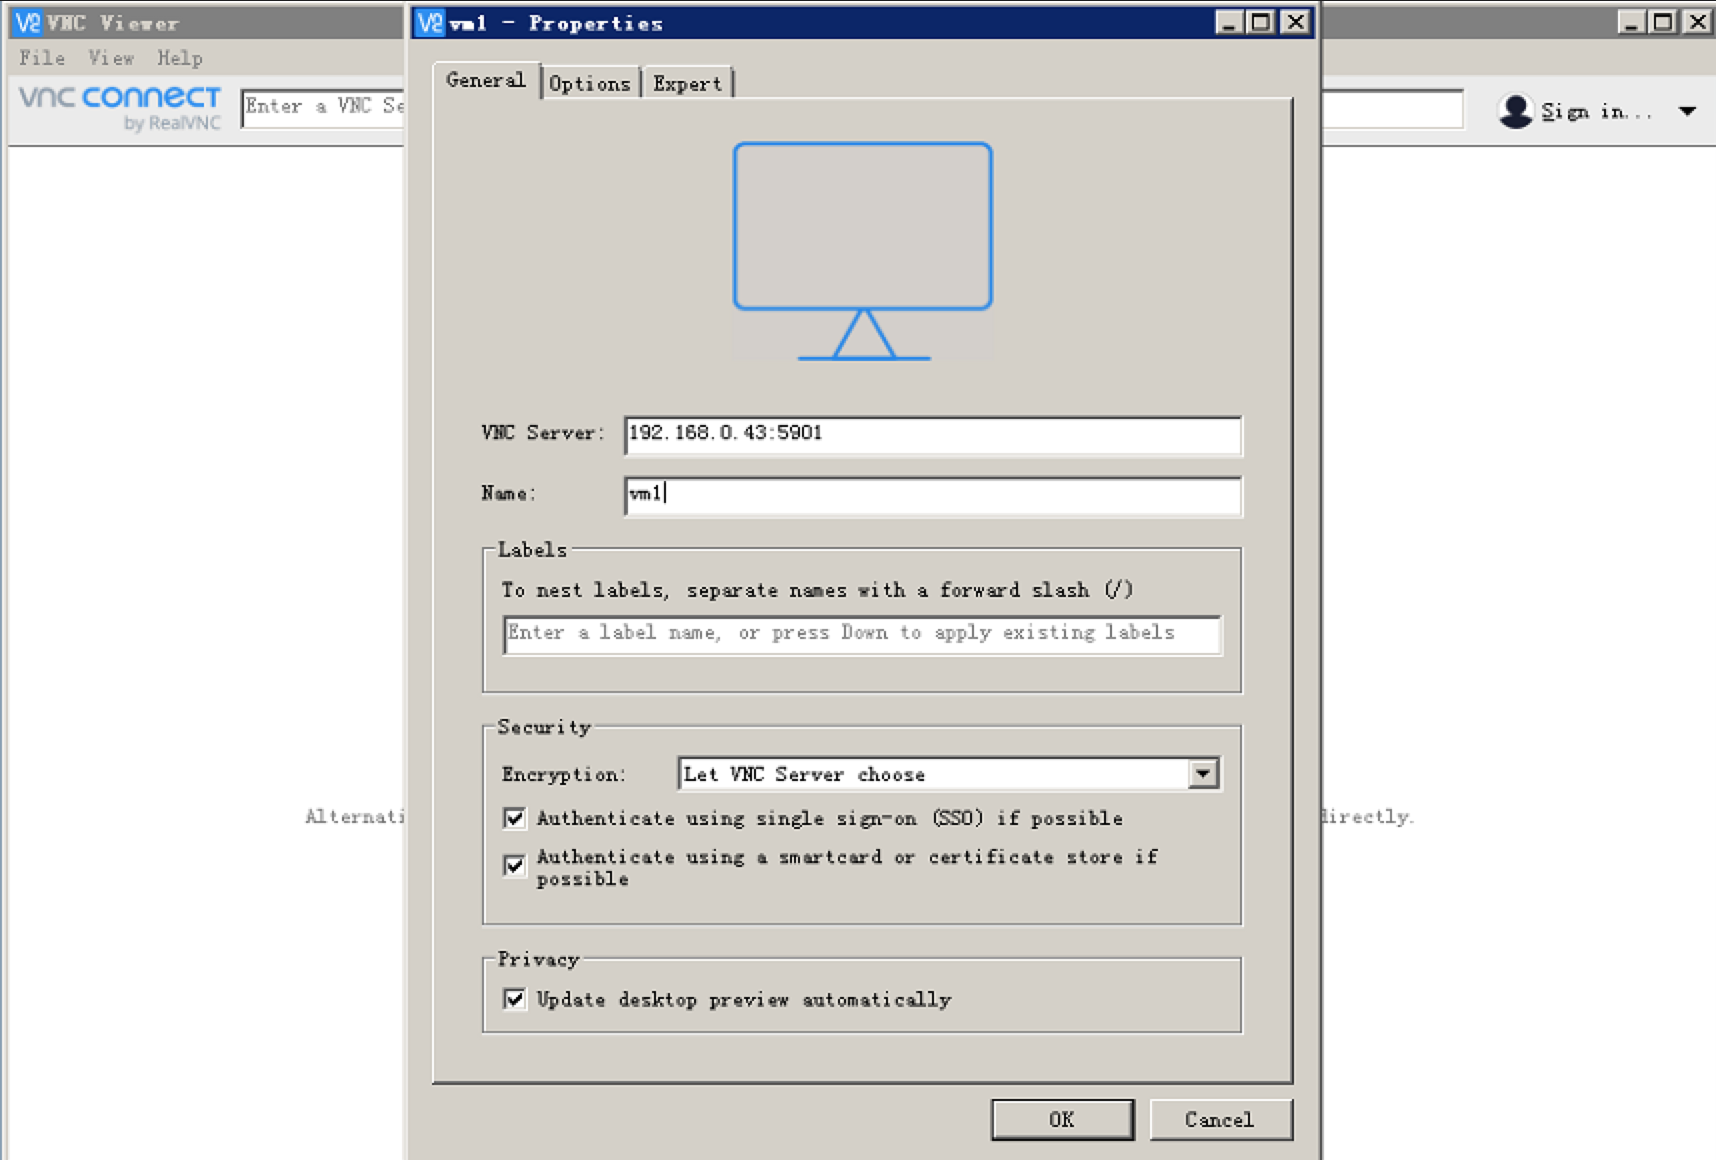
输入KVM服务器IP和在安装的虚拟机vnc端口,完成后点击OK即可
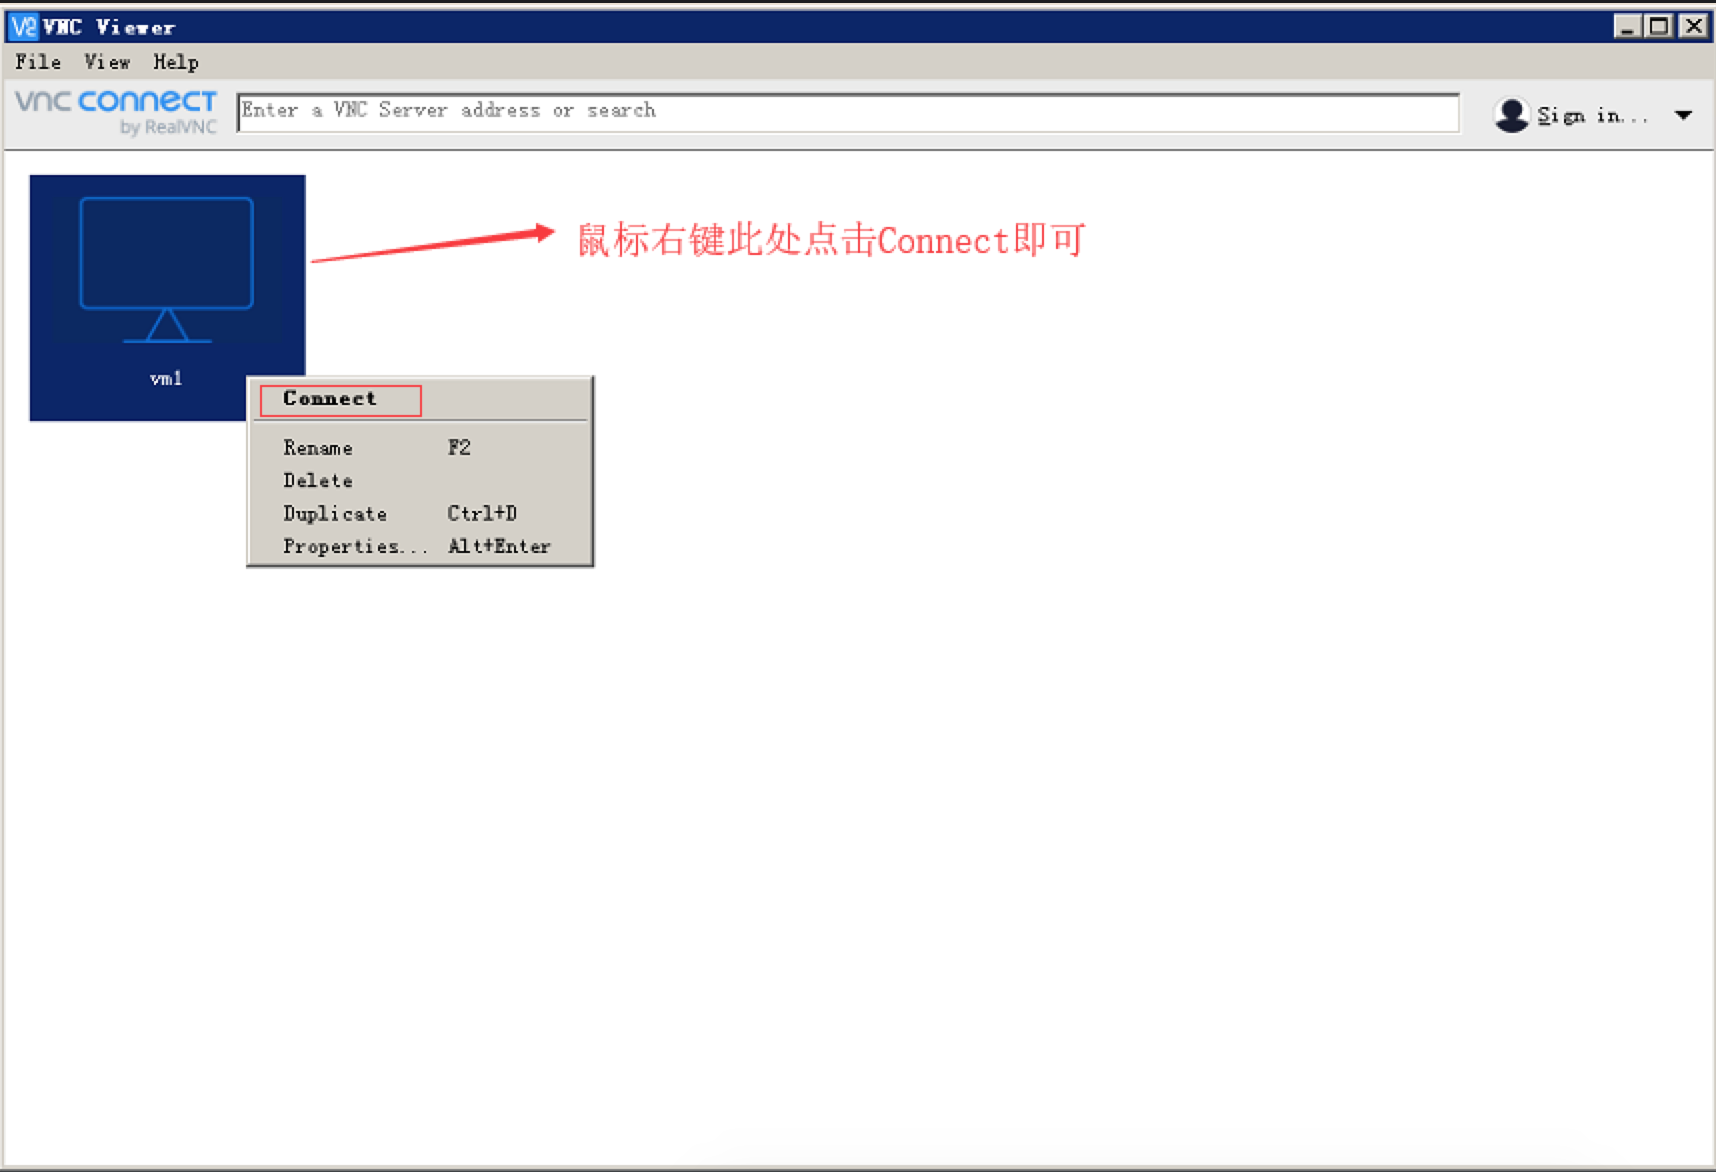
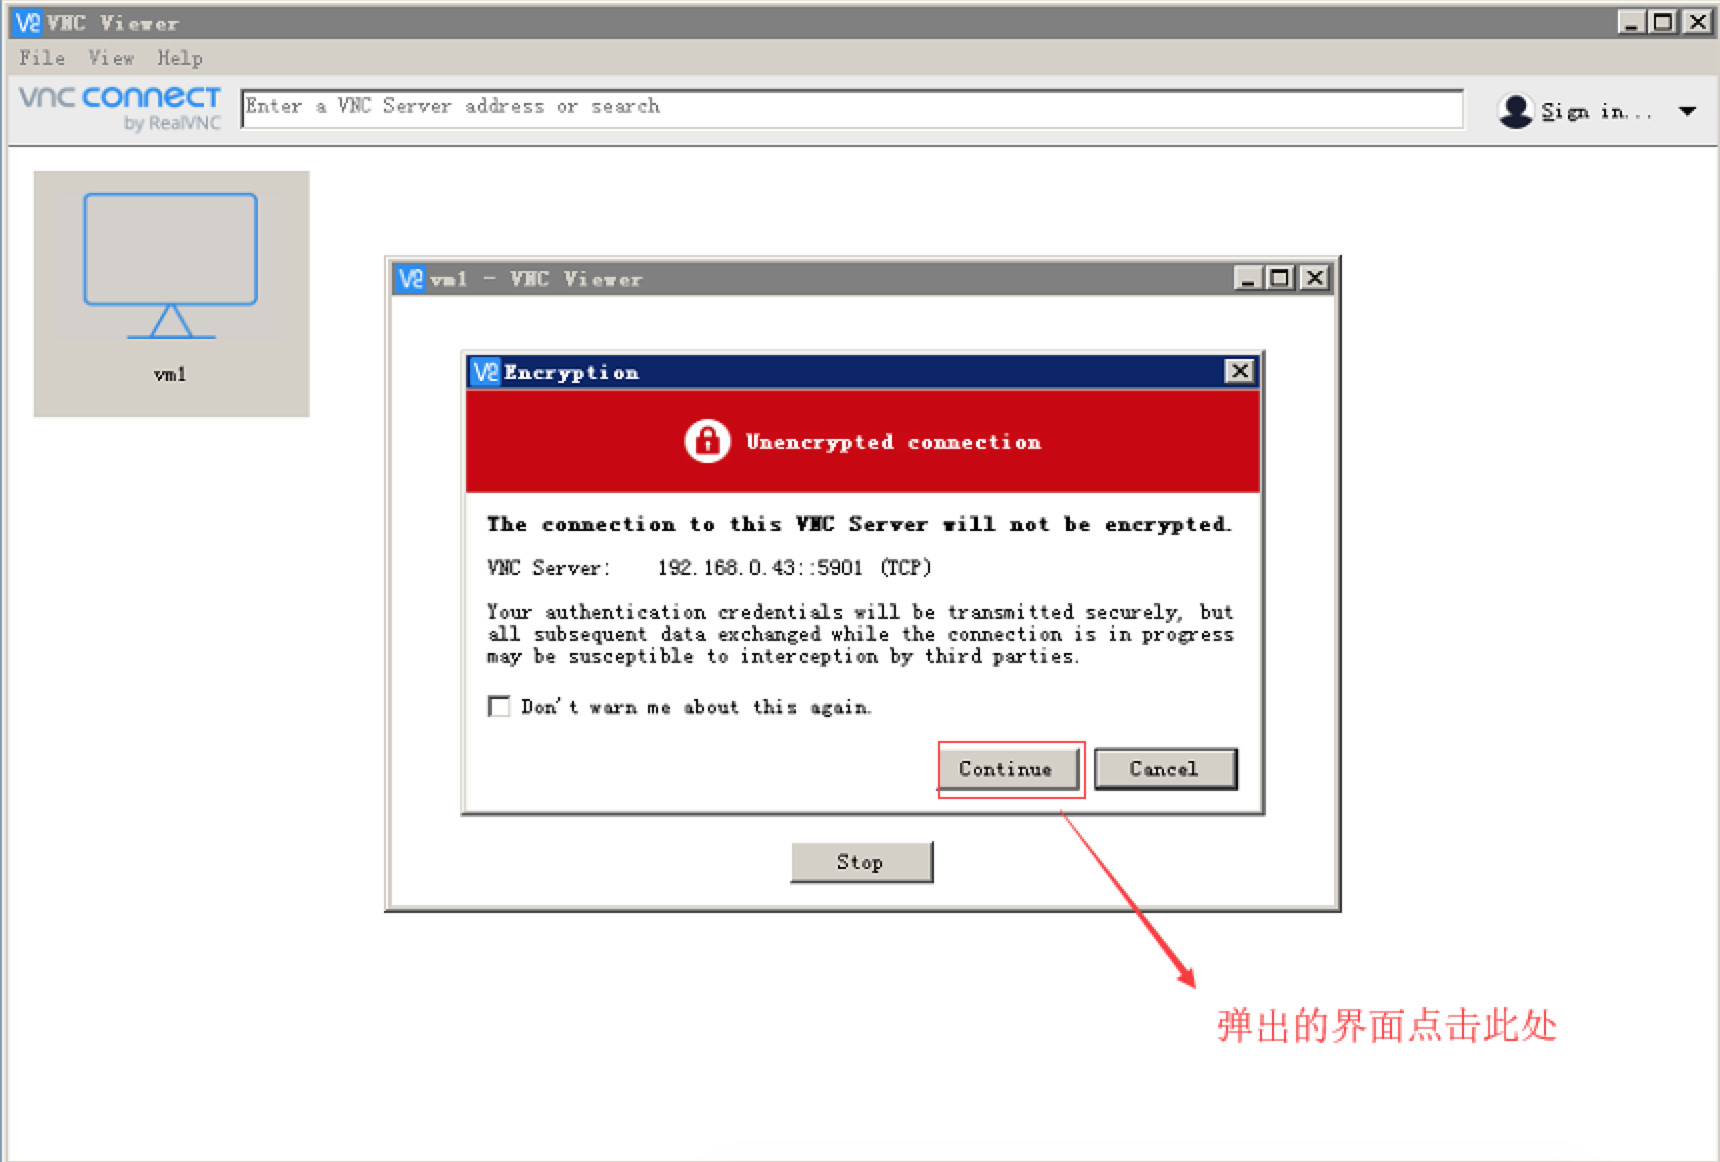


完成上述操作后就可以看到如下界面了

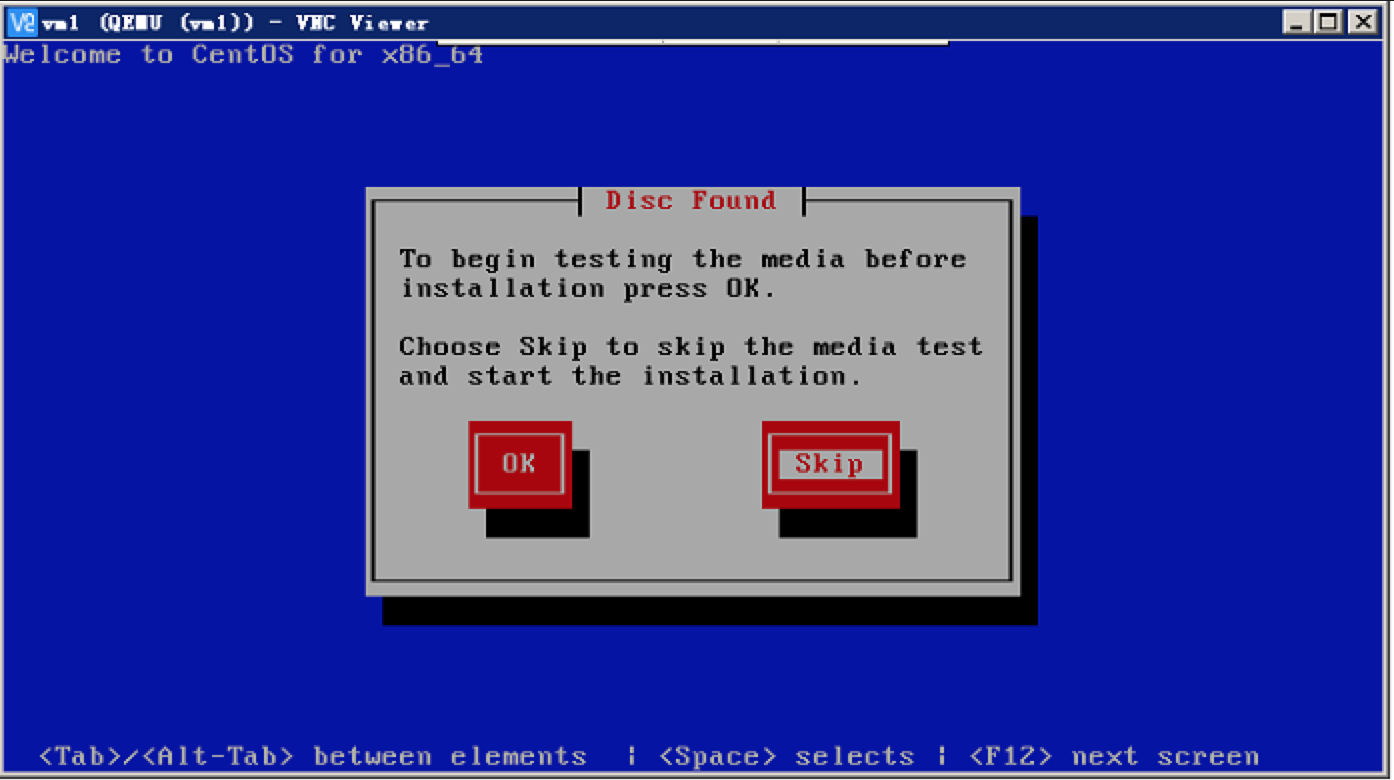
        具体操作见【如何安装Linux操作系统】

        待完全安装完毕后,我们最先执行安装的界面将会输出如下结果

安装虚拟机2

        上面的方式使用默认创建的虚拟机是raw格式的,通过下面的创建方式指定虚拟机格式,同安装虚拟机1一样,我们也将qcow2格式的虚拟机放于/kvm/image下

创建虚拟机

1
2
[root@kvm ~]# qemu-img create -f qcow2 /kvm/image/CentOS-6.10.qcow2 18G
Formatting '/kvm/image/CentOS-6.10.qcow2', fmt=qcow2 size=19327352832 encryption=off cluster_size=65536 lazy_refcounts=off

确认虚拟机格式

1
2
3
4
5
6
7
8
9
10
11
[root@kvm ~]# file /kvm/image/CentOS-6.10.qcow2
/kvm/image/CentOS-6.10.qcow2: QEMU QCOW Image (v3), 19327352832 bytes
[root@kvm ~]# qemu-img info /kvm/image/CentOS-6.10.qcow2
image: /kvm/image/CentOS-6.10.qcow2
file format: qcow2
virtual size: 18G (19327352832 bytes)
disk size: 196K
cluster_size: 65536
Format specific information:
compat: 1.1
lazy refcounts: false

安装虚拟机

1
[root@kvm image]# virt-install --name vm2_qcow2 --ram 1024 --cdrom /opt/iso/CentOS-6.10-x86_64-bin-DVD1.iso --disk path=/kvm/image/CentOS-6.10.qcow2 --network network=default --vnc --vnclisten=0.0.0.0 --vncport=5902 --os-type=linux --os-variant=rhel6

        执行指令后将会看到如下界面

        剩下的操作同安装虚拟机1

常见KVM管理命令

命令 说明
virsh list –all 查看所有虚拟机状态
virsh start vm1 VM1 开机
virsh start vm1 VM1开机
virsh shutdown vm1 VM1关机
virsh destroy vm1 强制关闭电源
virsh undefine test1 移除虚拟机
virsh suspend vm_name 暂停虚拟机
virsh resume vm_name 恢复虚拟机
ls /etc/libvirt/qemu/ 主机的配置文件所在位置
分享到